How To Dual-Boot Linux Mint And Windows Or macOS
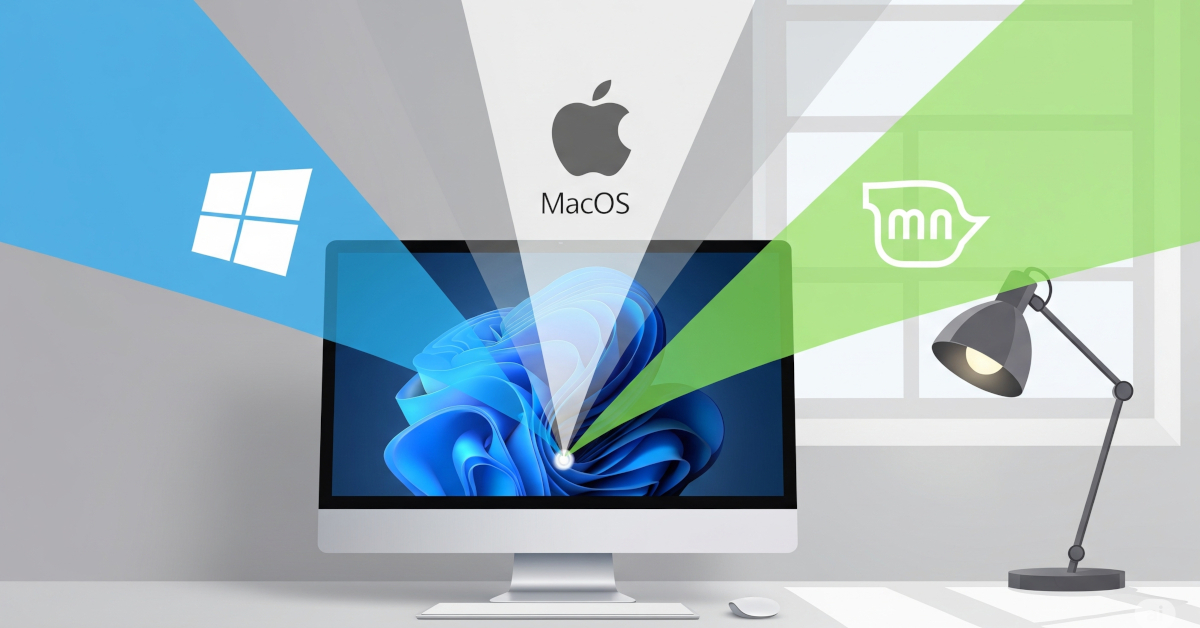
This guide walks you through installing Linux Mint alongside your current operating system, creating a “dual-boot” setup that lets you choose which OS to use at startup.
Who is this guide for?
Users with Intel or AMD (x86_64) computers running:
- Windows (10, 11, or recent versions)
- macOS on Intel-based Mac
This guide is based on the official Linux Mint Installation Guide.
Note for Mac Users: The macOS portion of this guide was tested on a 2012 MacBook Pro. If you have a different Mac model, please research whether these instructions apply to your specific model before proceeding.
Disclaimer: This guide was developed with AI assistance. It’s provided “as-is” without warranty. By following these instructions, you acknowledge you do so at your own risk. The author is not liable for any issues.
What You’ll Need
- USB flash drive (4 GB or larger)
- At least 50 GB free space on your internal drive (100 GB or more is better if you plan to use Linux as a daily driver).
- Reliable internet connection
- External drive or cloud storage for backing up files
IMPORTANT: Back up important files before beginning. While generally safe, there’s always risk of data loss when partitioning drives.
Step 1: Download the Linux Mint ISO
- Visit Linux Mint website to download the latest version
- Choose your edition:
- Cinnamon: Recommended for modern computers - polished, feature-rich desktop1
- XFCE: For older/less powerful computers - lightweight and fast
- Download the 64-bit version (correct for most computers made in the last decade)
Step 2: Create a Bootable USB Drive
You need a special tool to make the USB drive bootable.
- Download and install Etcher (free for Windows and macOS)2
- Open Etcher and follow three steps:
- Click “Flash from file” and select your Linux Mint ISO
- Click “Select target” and choose your USB drive
- Click “Flash!” to create the bootable drive
Step 3: Make Space for Linux Mint
Shrink your current OS partition to create space for Linux Mint. Allocate at least 50 GB, or more if you plan to use Linux as your primary OS.
On Windows: Note: First disable “Fast Startup” in Windows Power Options.
- Press Windows key, type
diskmgmt.mscto open Disk Management - Right-click your main Windows partition (usually C:) and select “Shrink Volume…“
- Enter space amount and click “Shrink” - you’ll see black “Unallocated” space
On Intel-based Mac:
- Open Disk Utility (Applications > Utilities)
- Select your main drive (usually Macintosh HD)
- Click “Partition” button, then plus (+) button
- Resize new partition to at least 50 GB, name it “LINUXMINT”, format as exFAT
- Click “Apply”
Step 4: Boot from USB Drive
- Plug in USB drive and restart computer
- Press boot menu key as it starts3:
- PCs: Usually
F1,F2,F10,F11,F12,Delete, orEscape(search online to find the correct key for your computer) - Macs: Hold Option (Alt) key after startup chime
- PCs: Usually
- Select USB drive from boot menu
- Choose “Start Linux Mint” from the menu
You’ll now see a “live session” - a temporary version running from the USB.
Step 5: Install Linux Mint
For Windows Users
- Double-click “Install Linux Mint” icon
- Follow prompts for language, keyboard, Wi-Fi, and tick multimedia codecs box
- At “Installation type”, select “Install Linux Mint alongside Windows Boot Manager”
- Use slider to allocate the free space you created in Step 3 to Linux Mint
- Click Install Now, complete timezone and user account setup
- Click “Restart Now” when finished, remove USB when prompted
For Mac Users
Part A: Create Partitions with GParted
- Open GParted from main menu
- Select the free space created in Step 3
- Create three new partitions (right-click free space, select “New”):
- EFI Partition:
1000 MB, format asfat32. After creating, right-click → “Manage Flags” → checkbootandesp - Swap Partition: Size equal to your RAM, format as
linux-swap - Root Partition: Remaining space, format as
ext4
- EFI Partition:
- Click green checkmark to apply changes, close GParted
Part B: Run Installer
- Double-click “Install Linux Mint” icon
- Proceed through initial screens
- At “Installation type”, choose “Something else”
- Assign partitions:
- Select the
ext4partition (root partition) → “Change…” → set “Use as:” toExt4 journaling file systemand “Mount point:” to/ linux-swappartition should auto-detect
- Select the
- Crucial: Set “Device for boot loader installation” to the
fat32EFI partition - Click “Install Now”, confirm changes, complete setup
- Restart and remove USB when finished
Step 6: Choosing Your OS at Startup
On PC: You’ll see GRUB menu at startup. Use arrow keys to select Linux Mint or Windows, press Enter.
On Mac: No GRUB menu appears. To choose OS: shut down, power on while holding Option (Alt) key. Click desired OS. To set default: hold Control and click arrow under preferred OS.
First Login
Open Driver Manager from main menu to scan for and install recommended hardware drivers for optimal performance.4
Troubleshooting
If you run into issues, try these solutions:
Boot Problems
USB won’t boot on Windows PC:
- Enter BIOS/UEFI settings and temporarily disable “Secure Boot”5
- Remember to re-enable Secure Boot after installation
Boot issues on newer Intel Macs (2018-2020 with T2 chip):
- Boot into Recovery Mode (
Command + Rat startup) - Open Startup Security Utility from Utilities menu:
- Set Secure Boot to “No Security”
- Set Allowed Boot Media to “Allow booting from external or removable media”
- Optional but recommended: Open Terminal from Utilities menu and disable SIP:
- Restart and boot from USB (hold Option key at startup)
- Important: After installation, re-enable these security features by repeating steps 1-2 and reversing the settings
Security Warning: Disabling these security features temporarily reduces your system’s protection against malware and unauthorized modifications. Re-enable them promptly after completing the Linux installation to restore full security.
Getting Help
- Linux Mint Forums: Community Q&A
- Linux Mint Installation Guide: Official troubleshooting